Create your first tool
Step 1: Install He3 client
If you have already installed the latest He3 client, skip this step. If not, please go to https://he3app.com to download it.
Step 2: Login He3 client
Open the He3 client and select the login option in the top right corner.

Step 3: Create a tool
Note
Tool development requires the node and npm environment. To install, click nodejs.
There are two ways to create a tool:
- Fork the Demo repository
- Create through portal form
Option1: Fork demo repository
Fork https://github.com/he3-app/he3-tool-demo repository, and clone it to your local.
Modify the tool metadata in the package.json file:
- name: Define the name of the tool (please use English)
- id: Define a unique identifier for the tool, which must be globally unique. If it is duplicated, the tool cannot be published. It is recommended to define a semantic id, such as "json-diff".
- isPublic: Define the visibility of the tool. If it is private, only developers can see it. If it is public, it can be accessed by any user after being reviewed by the official team.
- description: Provide a brief and concise description of the tool's functionality, preferably in English.
- version: Specify the version of the tool. Version needs to be incremented for each publish, otherwise, publishing will not be possible.
- category: Categorize the tool. Currently supported categories are: json, yaml, datetime, text, image, color, encode, cryptography, network, programming, web, math, miscellaneous, media, ai.
- keywords: Specify keywords for the tool to facilitate tool search. Keywords should be defined in English.
Once the tool metadata is defined, execute npm install to download the dependencies. Then run npm run i18 to generate the mate.lodal.json file in the root directory. This file contains the internationalized metadata of the tool, which can be modified as needed.
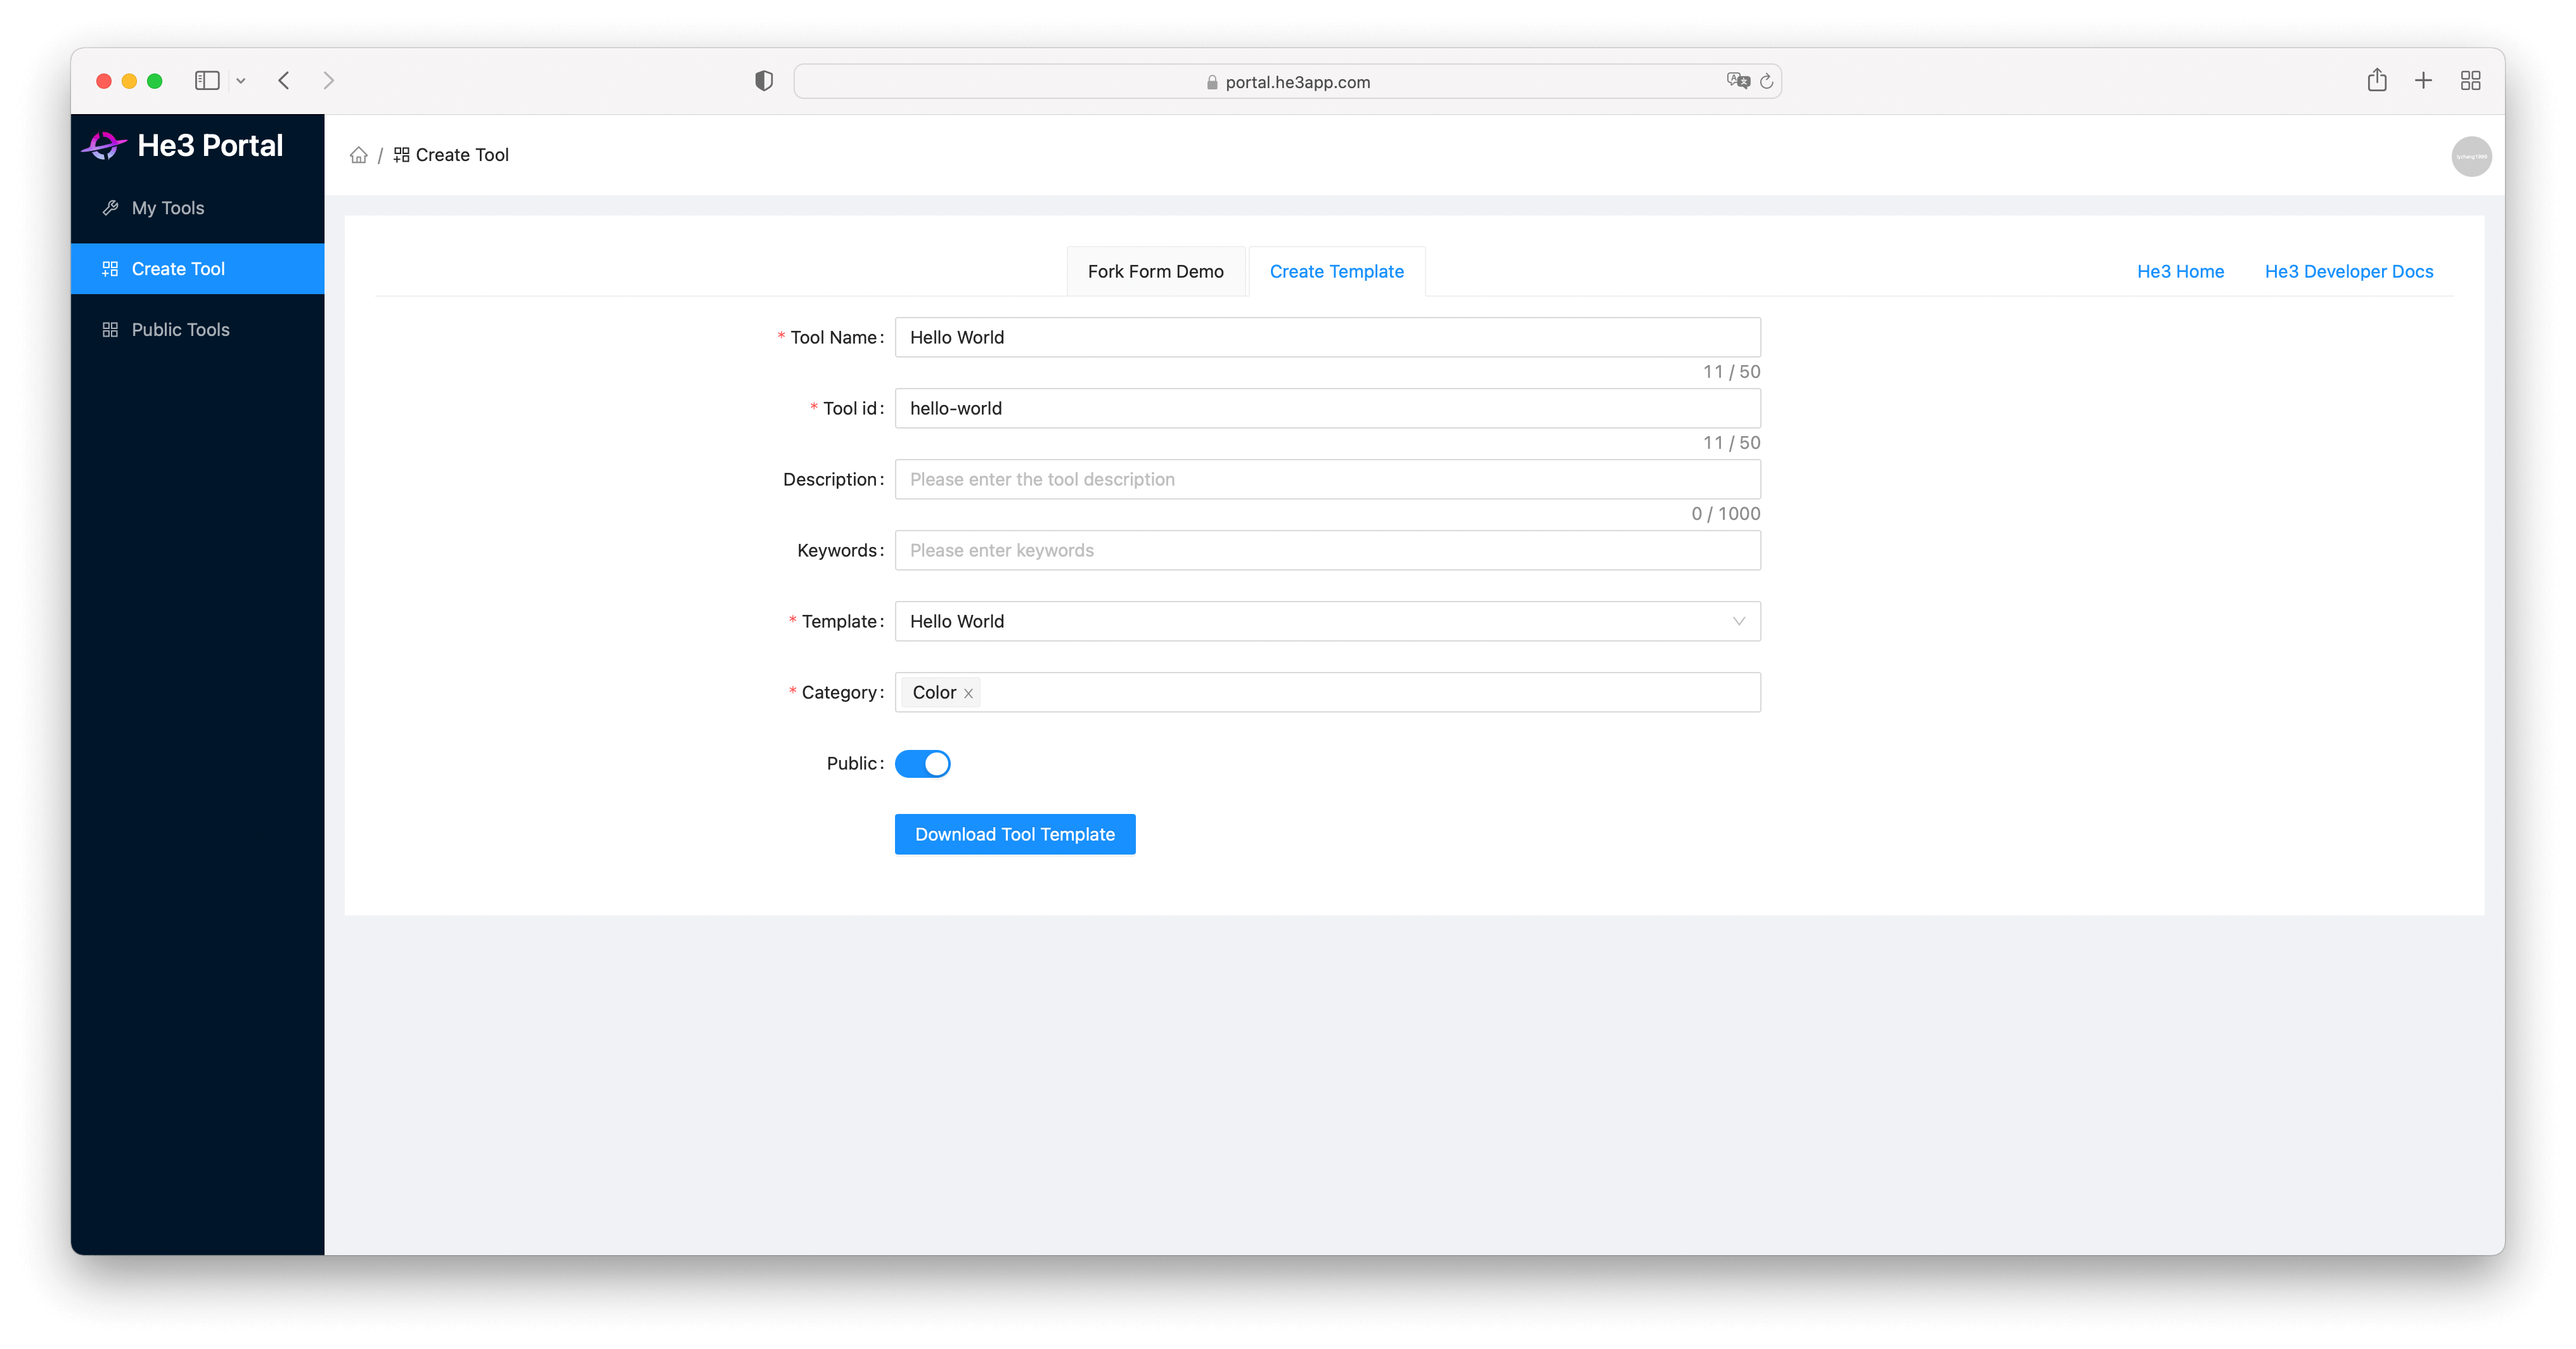
Option2: Create through portal
Open https://portal.he3app.com/create-tools, Fill in the tool information in the form, and click "Download Tool Template" to download the tool template zip file.
In addition, we have also prepared some open-source tools for your: tools-example
Step 4: Develop tool
Enter the tool directory downloaded in step 3, install dependencies and develop tool with hot reload.
npm run dev
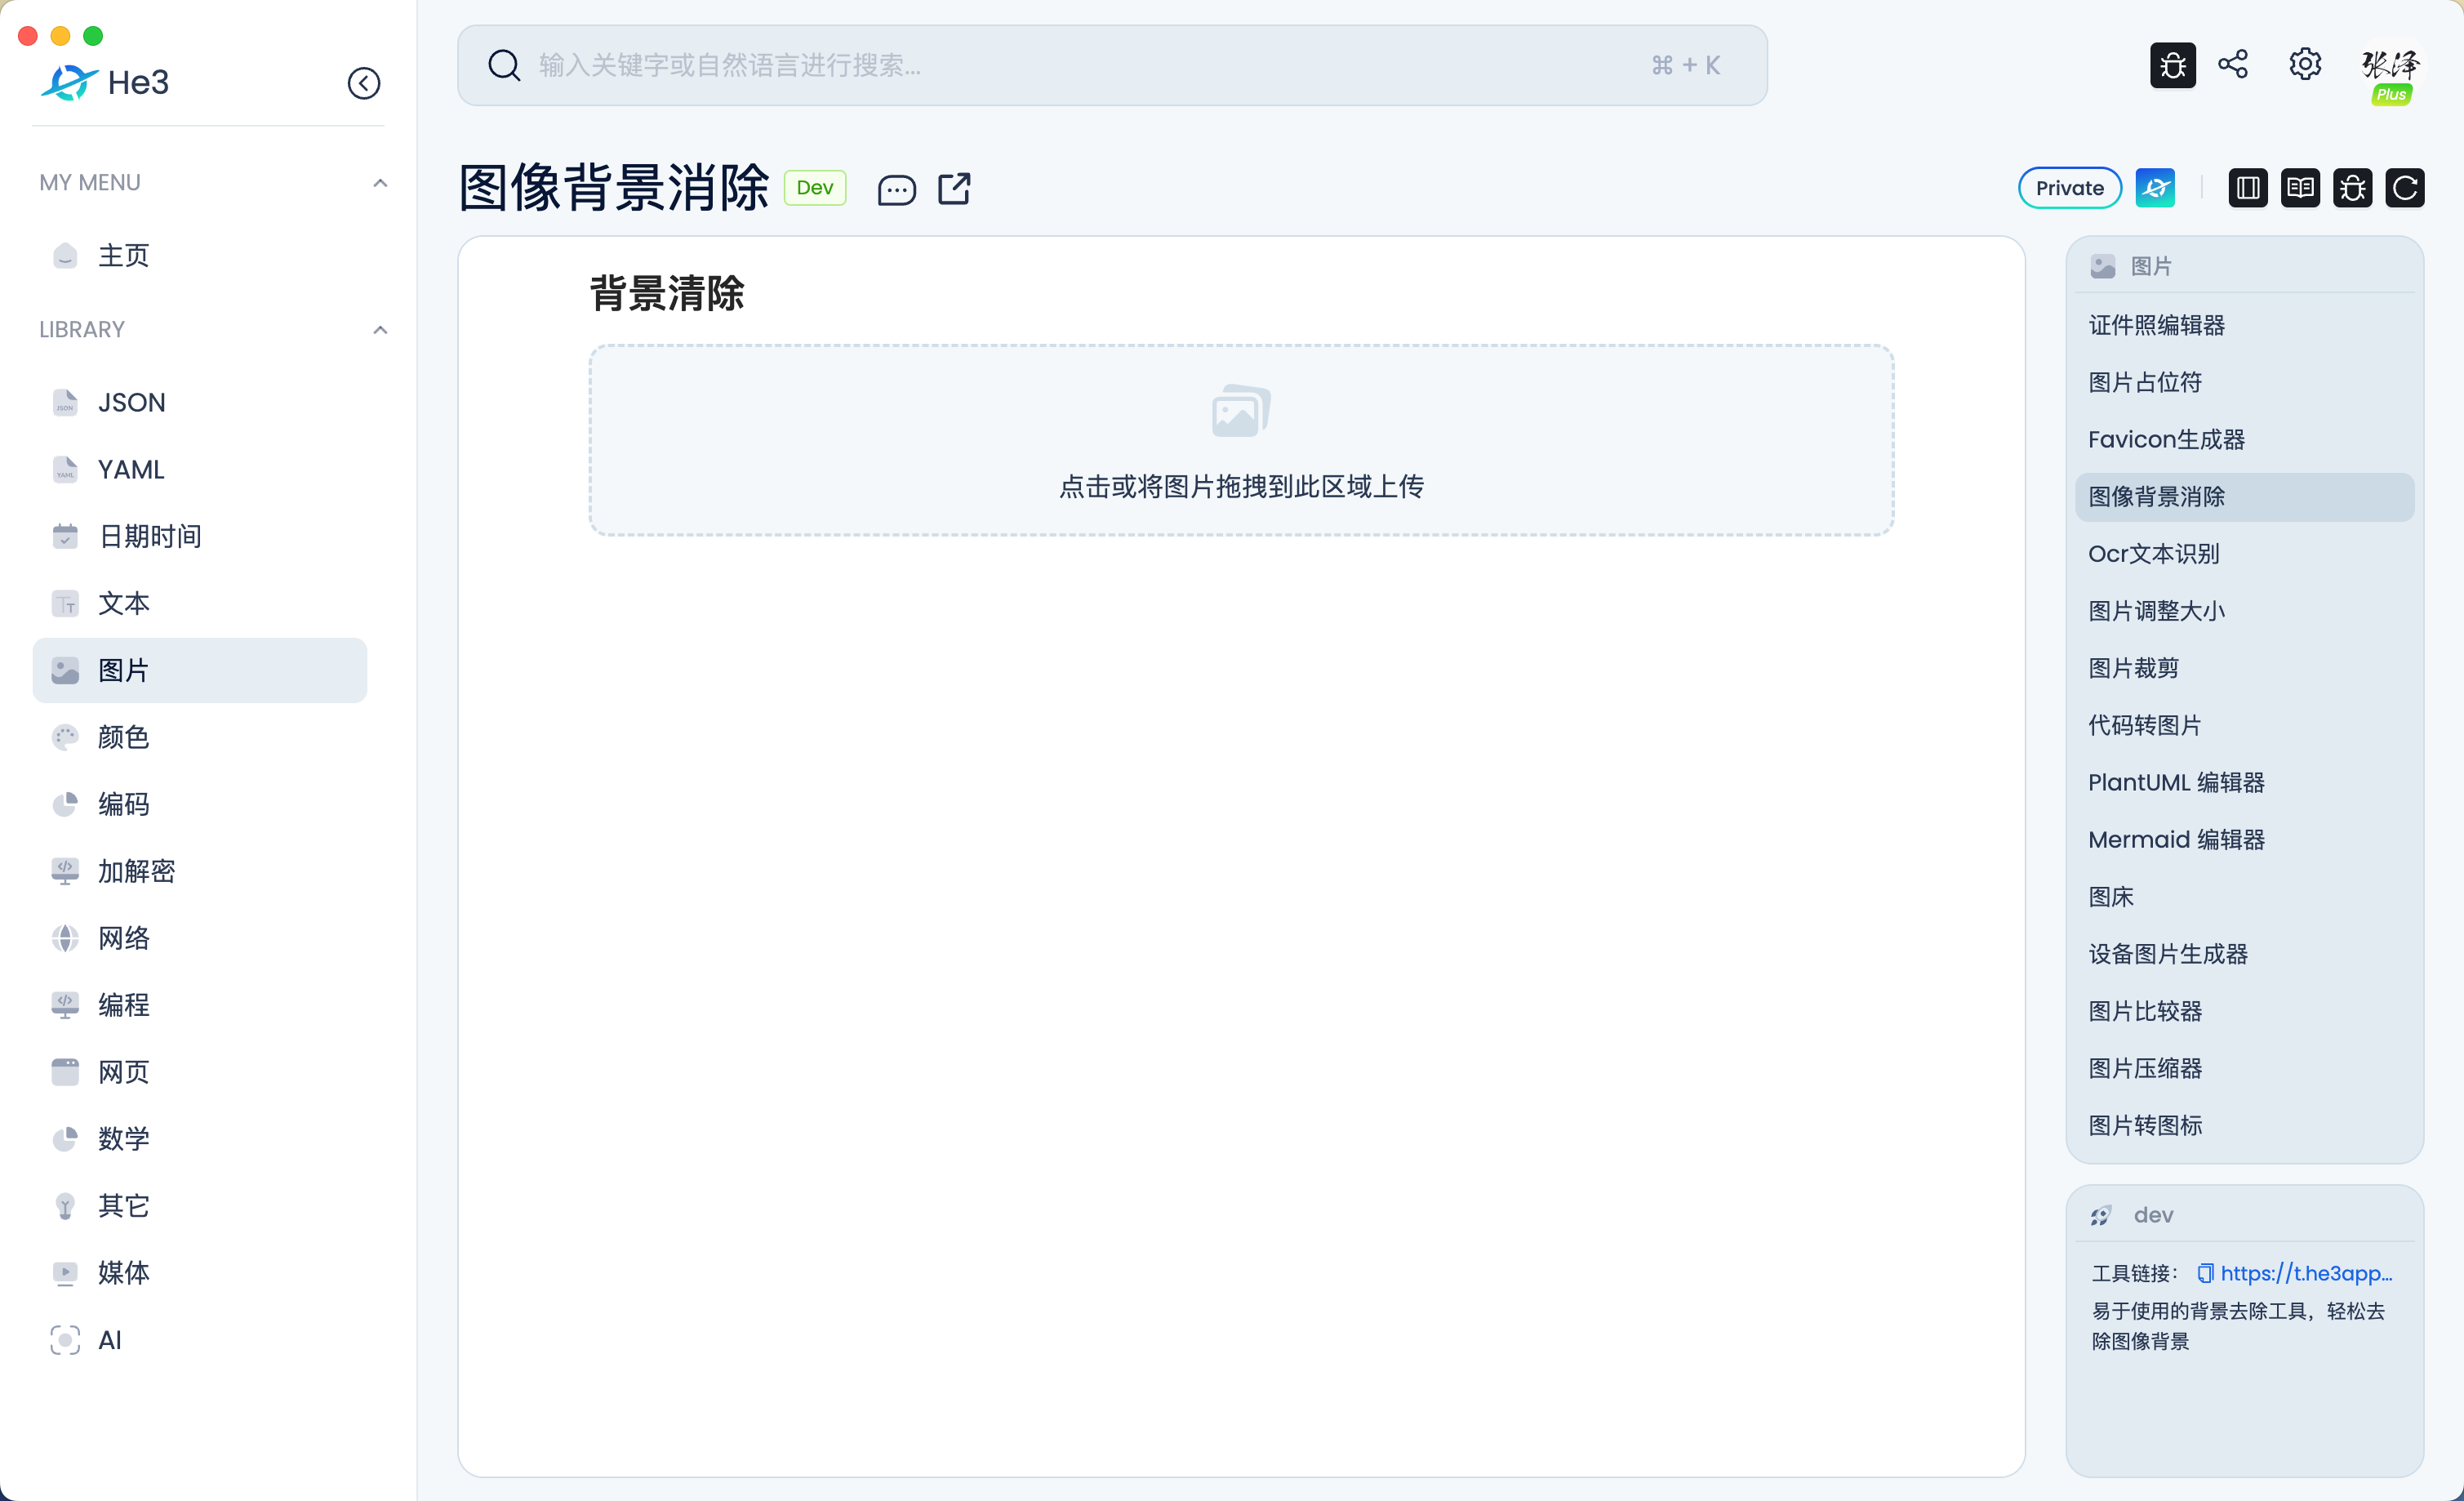
Then, open the He3 client and check it out.
Step 5: Publish tool
Once you are finished developing the tool, you can publish tool by running the following command.
npm run publish
After publishing, you will get the tool's URL link, which you can use by opening tool or share with others.
In addition, You can see the tool in My tools menu and He3 Store